Portal Quickstart — Getting Started
This quickstart introduces the GPCN™ portal and walks through the first steps of using the platform, including how the dashboard is organized, where to find key resources, and how to deploy your first virtual machine. By the end of the guide, you'll have infrastructure running and a basic understanding of how to navigate and manage resources within the platform.
Creating Your Account
GPCN™ accounts are created by your organization's administrator. After your administrator creates your account, you'll receive an invitation email to activate it.
- Check your inbox for the GPCN™ invitation email
- Click the activation link in the email (or copy the activation code if prompted)
- Set your password — use at least 12 characters with a mix of uppercase, lowercase, numbers, and symbols
- Enter your name to complete your profile
- Sign in to the GPCN portal
If you don't see the email, check your spam folder. If it's still missing, ask your administrator to resend the invitation.
First Login
Two-factor authentication is required for all GPCN™ accounts. By default, accounts use email OTP (one-time passcode) — a code sent to your registered email.
Signing In
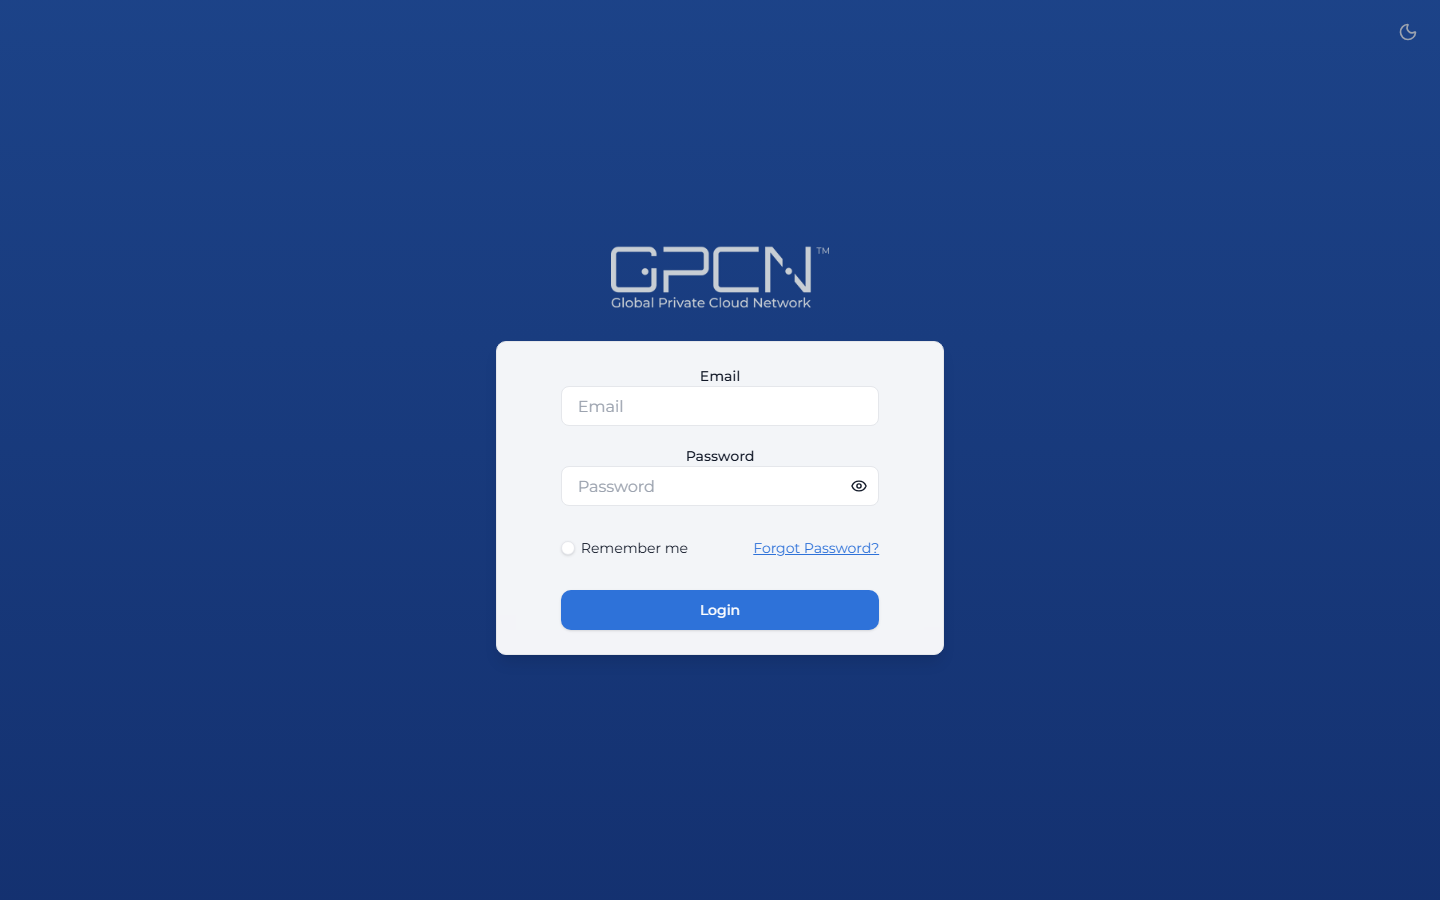
- Go to the GPCN™ portal login page
- Enter your email and the password you set during activation
- Check your inbox for a one-time passcode and enter it when prompted
- You're logged in
Enhanced 2FA Setup
For stronger security, set up an authenticator app from your profile page after logging in. App-based TOTP (Time-based One-Time Password) is the recommended method — it works offline and generates time-locked codes every 30 seconds.
- Click the
...menu next to your name at the bottom of the sidebar, then click Profile - Find the Enhanced Two-Factor Authentication section
- Click Enable Authenticator
- Open your authenticator app (Google Authenticator, Authy, Microsoft Authenticator, or 1Password) and tap the Add (+) button
- Scan the QR code displayed on screen
- Enter the 6-digit code from your app to verify
- Save your backup codes somewhere safe (password manager, encrypted file)
After enabling TOTP, email OTP remains available as a fallback — ensuring you can always access your account even if you lose your authenticator device.
For full details on all 2FA methods, backup codes, and troubleshooting, see Two-Factor Authentication.
Navigating the Dashboard
Once you're signed in, the dashboard provides an overview of your infrastructure and access to all platform features.
The portal supports light and dark mode. Use the toggle in the top-right corner of the header to switch — your preference is saved automatically.
Main Navigation
The left sidebar gives you access to all sections, grouped by category:
Resources
- Virtual Machines — create, manage, and monitor your VMs
- GPU — GPU-accelerated virtual machines
- Storage — block storage volume management
- Networks — manage your network infrastructure
Organization
- Users — invite and manage users
- Resource Groups — organize users and VMs into logical groups
- API Keys — manage programmatic access keys
Support & Docs
- API Reference — opens the GPCN™ API reference
- Terraform Provider — documentation for the GPCN™ Terraform provider
- Support — links to platform documentation, how-to guides, developer resources, API reference, policies, and a support ticket form
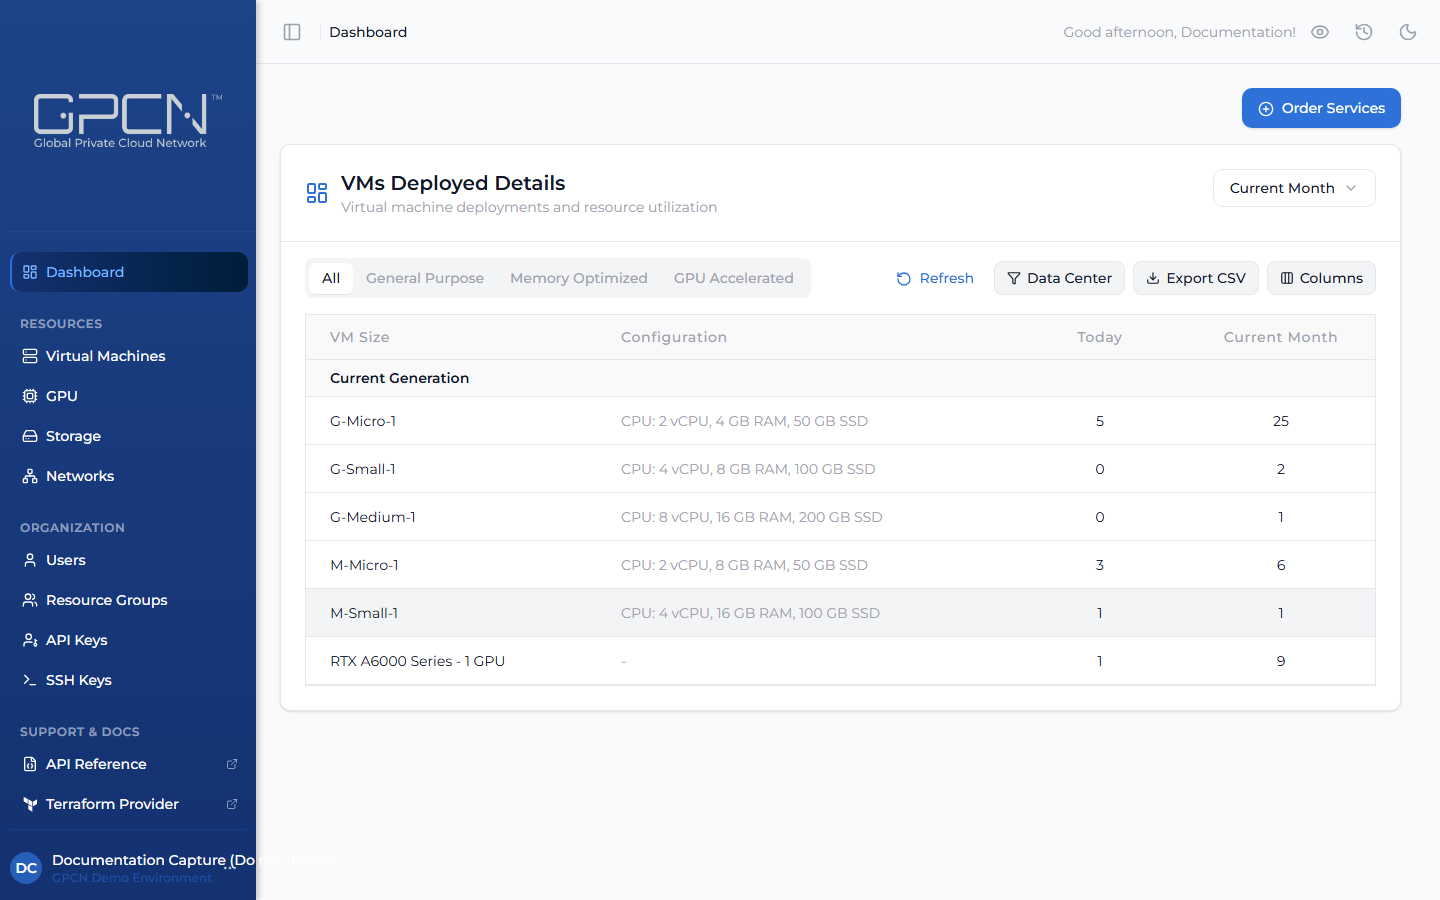
The Dashboard home page shows a summary of VMs deployed by size, filterable by data center and time period.
Key Indicators
The dashboard typically shows you at-a-glance information about your infrastructure: running VMs, resource usage, and recent activity. Use this as your home base.
Your First Virtual Machine
Creating a VM is one of the first things most users do. Here's what the process looks like at a high level.
What You'll Need
Before you create a VM, have the following ready:
- Data center — where you want the VM hosted
- Image — the operating system (Ubuntu, Windows, etc.)
- Size — CPU, RAM, and disk configuration
- Authentication — an SSH key from your library (recommended), or a password. If you plan to use SSH key authentication, add a key to your library before starting.
- Network — which network to attach the VM to (a Default Network is pre-assigned)
The Process
- Navigate to Virtual Machines in the sidebar and click Create VM
- Select Location — pick your continent, country, region, and data center
- Pick VM Size — choose a General Purpose or other configuration
- Select Operating System — pick your OS image
- Authentication — select an SSH key from your library, or set a password. Copy the password before deploying if you use one — it won't be shown again.
- Name Your VM(s) — enter a descriptive name
- (Optional) Assign to Resource Group, configure networking, or set instance count
- Click Deploy
Your VM will appear in the list with a Starting status. VM provisioning typically completes within 1–3 minutes depending on the data center and operating system selected.
Once It's Running
After your VM reaches a "Running" state, you can:
- Access it via SSH using your key or password, or via the browser console
- Start, stop, or reset it from the VM details page
- Manage networks by adding or removing network interfaces
- Upgrade it by changing the hardware configuration without redeploying your application
GPU Virtual Machines
If your organization has the GPU feature enabled, you'll see a GPU section in the sidebar. GPU instances are managed separately from standard virtual machines and use GPU-based sizing instead of CPU/RAM configurations — navigate to GPU to see your instances and click Create VM to deploy one. SSH is the primary access method.
Managing Your Profile
Click the ... menu next to your name at the bottom of the sidebar, then click Profile to open your account settings.
From here you can:
- Update your name — edit your display name and click Save
- Change your password — scroll to the Change Password section
- Manage 2FA — scroll to Enhanced Two-Factor Authentication to enable an authenticator app (TOTP) or manage backup codes. See Two-Factor Authentication for a full walkthrough
API Keys
Navigate to API Keys in the sidebar to create and manage keys for programmatic access. See the API Quickstart for details.
Tips for New Users
Naming conventions matter. Give your VMs and networks descriptive names. "web-prod-01" is much more helpful than "my-vm" when you have dozens of resources.
Next Steps
Now that you're oriented in the portal, dig deeper into these topics:
- Virtual Machines — create, manage, and monitor your VMs
- GPU Compute — deploy GPU-accelerated instances
- Storage — provision and attach persistent volumes
- Networking — build private networks and manage public IPs
- Getting Support — reach the support team from inside the portal
.png)