Manage GPU VMs
Manage the lifecycle of your GPU virtual machines — start, stop, reset, and delete instances from the portal.
Prerequisites
- The Tenant Administrator or Tenant Power User role
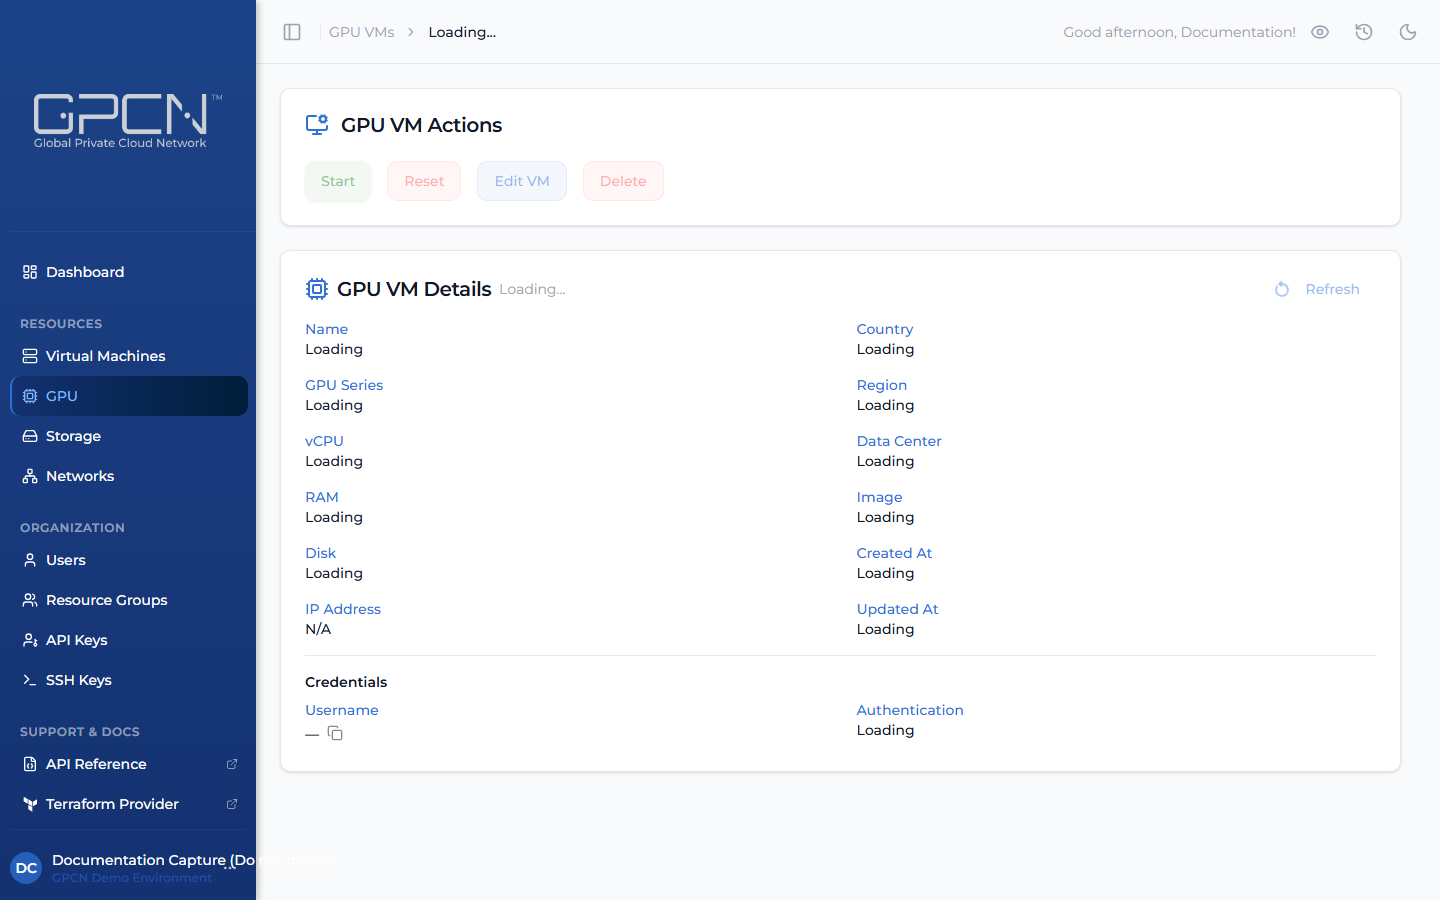
Start / Stop / Reset
Open the GPU VM's detail page and use the action buttons to Start, Stop, or Reset.
Edit a GPU VM
Rename a GPU VM or change its resource group assignment.
On the GPU VM's detail page, click Edit VM. Update the name or resource group and click Save Changes.
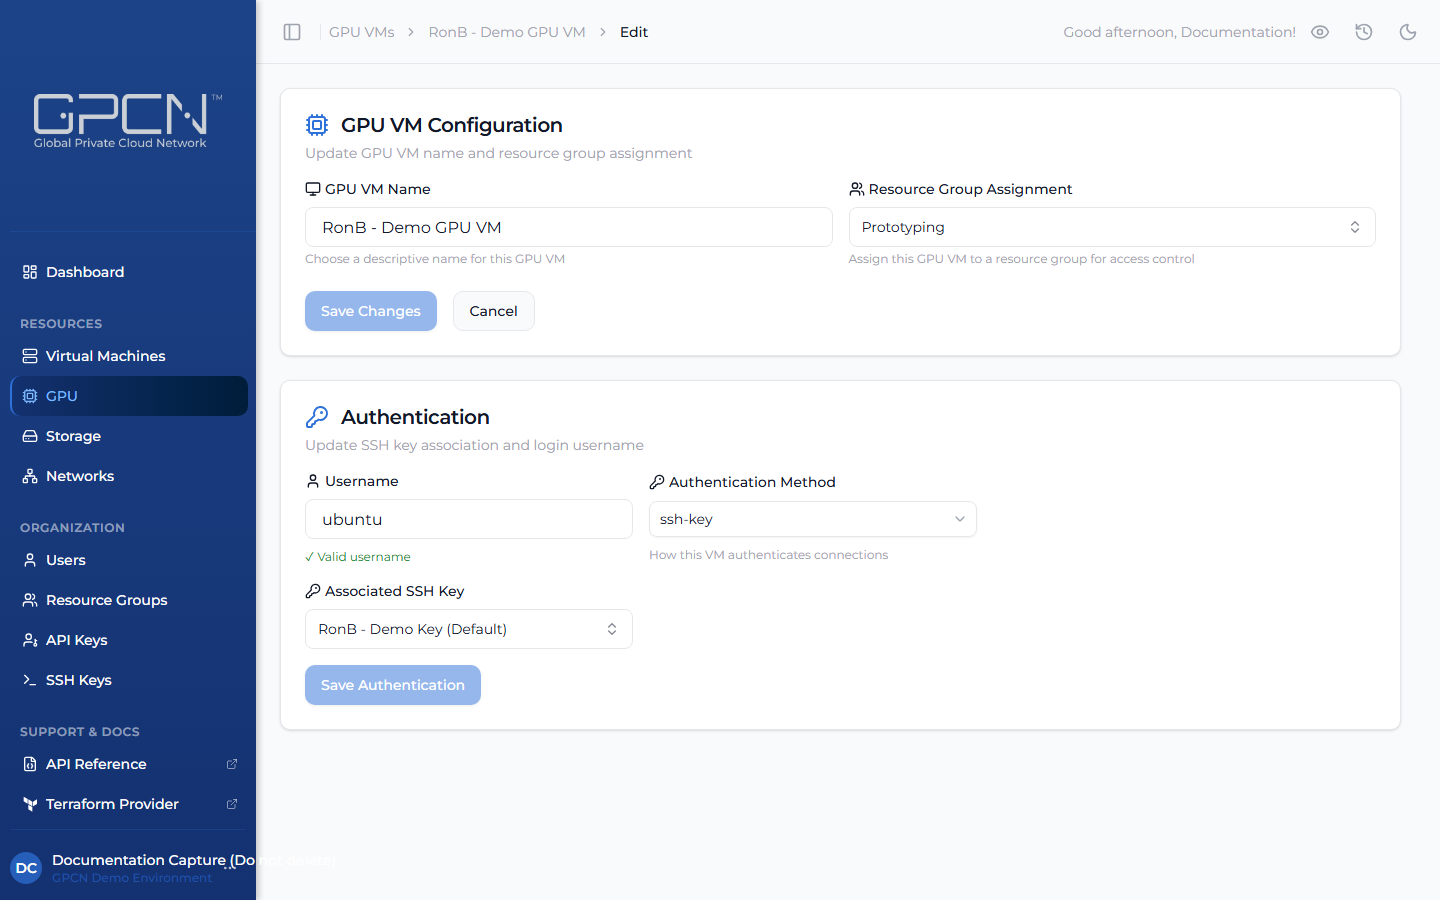
The Edit VM button is disabled while the VM is provisioning or transitioning.
Authentication
The Authentication card on the GPU VM's edit page lets you keep the portal's records in sync with changes you make directly on the VM.
GPCN™ doesn't have access to your VM's operating system, so it can't make credential changes on your behalf. If you rotate your SSH key, change the login username, or make other auth changes directly on the VM, you can update the portal here to reflect those changes. This keeps your GPCN™ records accurate and ensures the right key and username are shown when you or your team members look up VM details.
You can update two things:
- Username — the login username the portal associates with this VM. Update this if you've renamed the user inside the OS so the portal stays in sync.
- Associated SSH Key — which key from your library is linked to this VM. Update this if you've rotated keys on the VM itself.
Connect to your GPU VM using the private key for the associated SSH key:
ssh -i ~/.ssh/your-key ubuntu@<public-ip>
Changes here update the GPCN™ record only — they do not modify anything inside the VM. To change which keys can actually log in, update the VM's authorized_keys file directly.
See SSH Keys for help managing your key library.
Delete a GPU VM
Once confirmed, deletion begins immediately and may take a few moments to complete.
Once deleted, the VM and its data cannot be recovered. Make sure you no longer need it before proceeding.
Open the GPU VM's detail page and click Delete, then confirm.
Next Steps
- GPU Overview — GPU series and inventory concepts
- Create a GPU VM — deploy a new GPU instance
- SSH Keys — manage the SSH keys used for GPU VM access
- Bulk Operations — start, stop, restart, and delete multiple GPU VMs at once
.png)