Public IPs
Public IP addresses provide external internet access to your virtual machines. Public IPs are allocated per network interface and are only available on standard (L3) networks.
Prerequisites
- The Tenant Administrator or Tenant Power User role
How Public IPs Work
- Each VM network interface on a standard network can have one public IP allocated
- Public IPs are assigned from a shared pool — you don't choose the specific address
- When released, the IP returns to the pool and becomes available for future allocations
- Custom (L2) networks do not support public IP allocation — because these networks operate as flat Layer 2 switches without any built-in routing, there is no gateway to direct inbound or outbound traffic for a dedicated IP
Allocate a Public IP
There are two ways to allocate a public IP address to a VM — at the time of creation, or on an existing VM after it has been deployed.
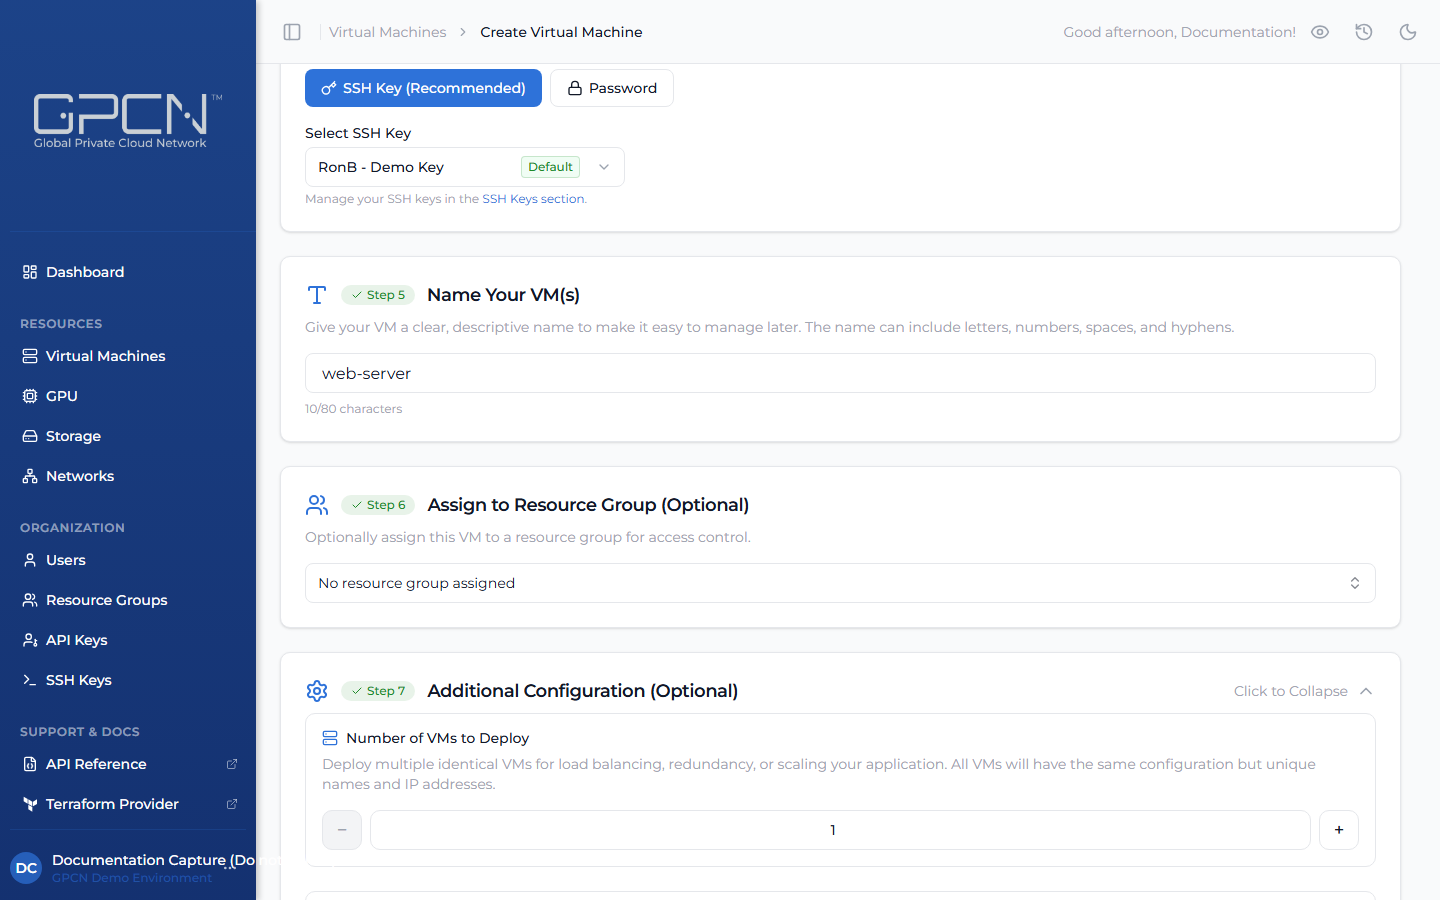
During VM Creation
Enable Allocate Public IP in the VM creation form to automatically allocate a public IP on the primary network interface.
After VM Creation
Allocate a public IP on any existing network interface connected to a standard network.
On the VM detail page, click Edit VM. In the Network Interfaces section, find the interface and click Allocate Public IP.
The Allocate Public IP button only appears on interfaces attached to standard networks. Interfaces on custom networks do not show this option.
Release a Public IP
Remove the public IP from a network interface. The IP is returned to the pool.
On the VM detail page, click Edit VM. In the Network Interfaces section, click Release Public IP next to the interface.
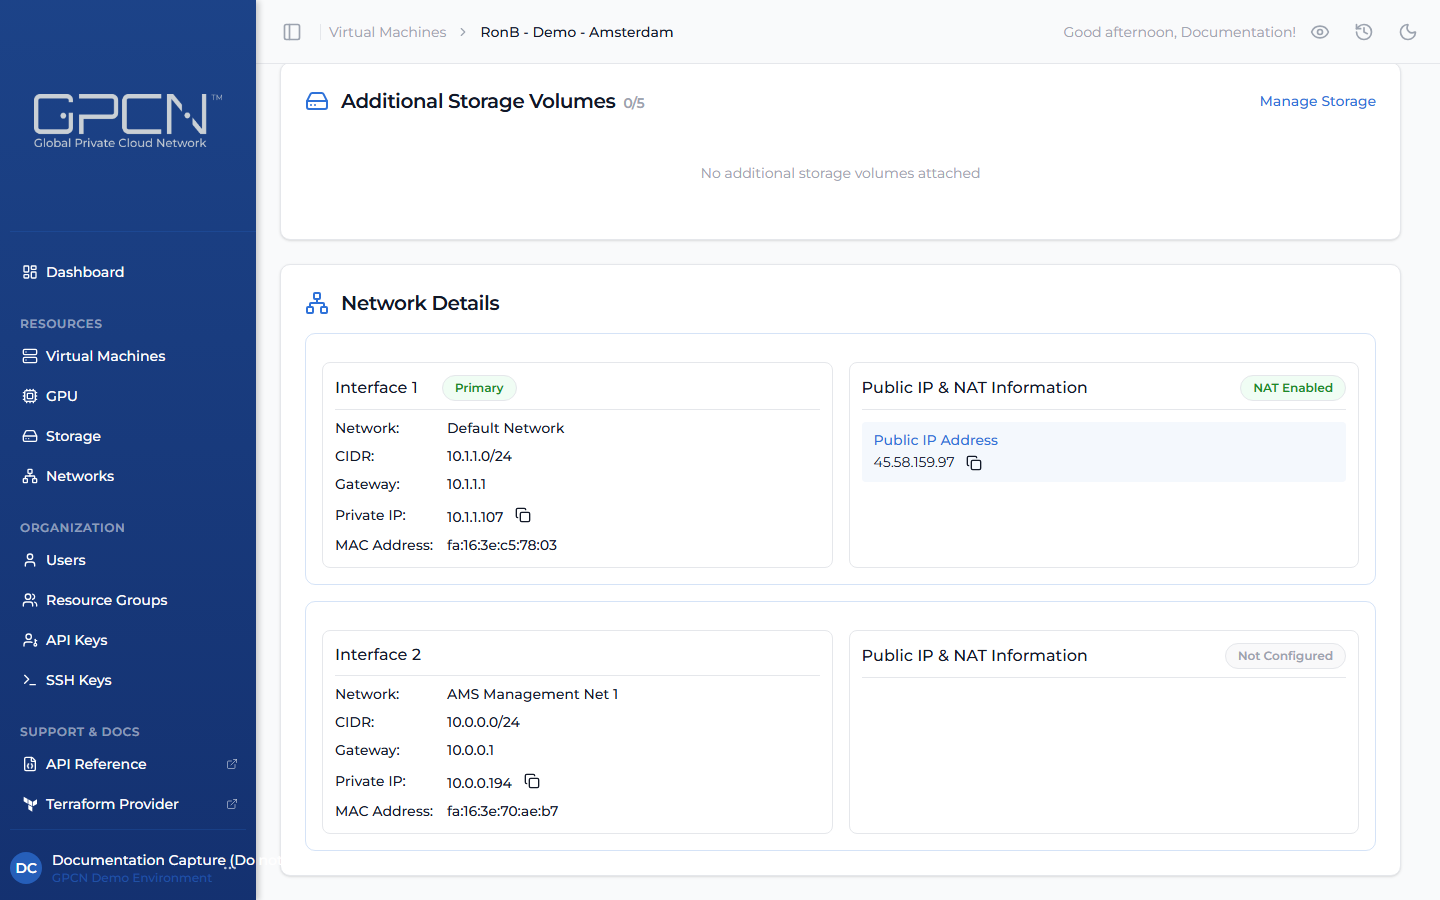
When released, the IP returns to the pool and becomes available for future allocations. If you need a stable external address, keep the IP allocated.
Next Steps
- Network Interfaces — manage NIC-level networking on VMs
- Networking Overview — L2/L3 concepts and CIDR planning
.png)