Create a Volume
Block storage volumes give your virtual machines additional persistent disk space that exists independently of the VM itself. When you create a volume, you choose the data center, storage type, and size — then attach it to any compatible VM in that location. The volume retains its data across attach and detach operations, making it easy to move storage between VMs or keep data available even after a VM is deleted.
Prerequisites
- The Tenant Administrator or Tenant Power User role
Create the Volume
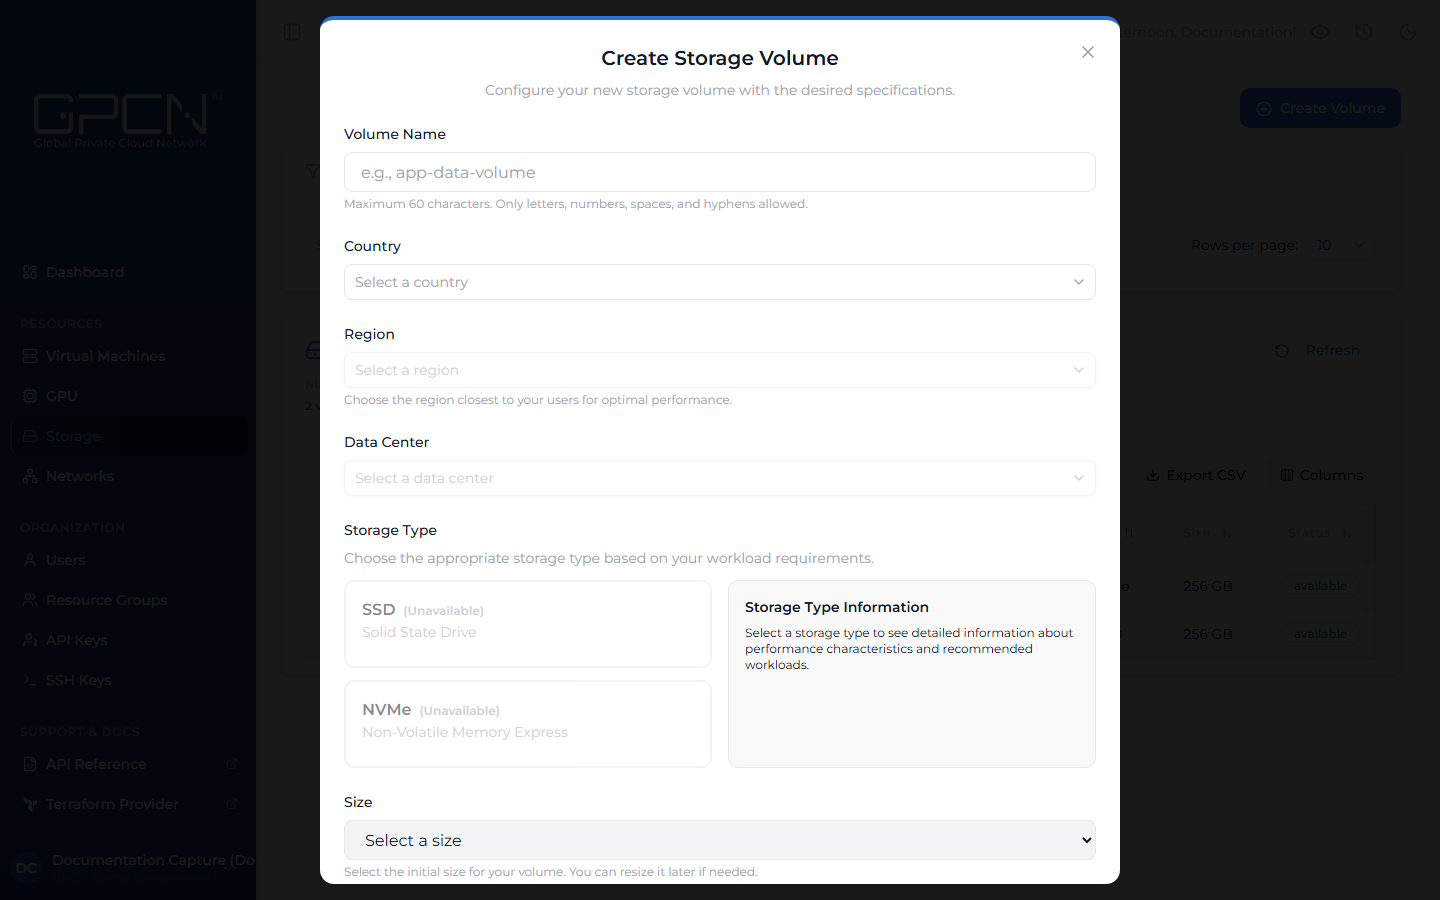
- Navigate to Storage in the sidebar and click Create Volume. A dialog opens.
- Volume Name — enter a descriptive name that identifies the volume's purpose, such as
db-backupsorapp-data. Maximum 60 characters; letters, numbers, spaces, and hyphens only. - Country → Region → Data center — select the same location as the VM you plan to attach the volume to. Volumes can only be attached to VMs in the same data center.
- Storage Type — select SSD for general-purpose workloads such as databases and web applications, or NVMe for high-performance workloads that require intensive I/O. A description of the selected type appears on the right. Available types vary by data center.
- Size — select a size from the dropdown. Choose a size that accommodates your current needs with some room to grow — you can expand a volume later, but you cannot shrink it. Available sizes vary by data center.
- Click Create Volume.
The volume appears in Creating state and transitions to Available once it is ready to use.
Next Steps
- Attach & Detach — connect the volume to a VM
- Resize a Volume — expand the volume later
- Delete a Volume — permanently remove a volume
.png)