Console Access
Access your VM's terminal directly from the browser. The console gives you full keyboard interaction — including BIOS screens, boot sequences, and login prompts — as if you were sitting in front of a physical monitor.
Prerequisites
- The Tenant Administrator or Tenant Power User role
- At least one existing VM
Using the Console
- Navigate to Virtual Machines and click on the VM you want to access.
- On the VM detail page, click Console.
- A new browser tab opens with a live console session for your VM.
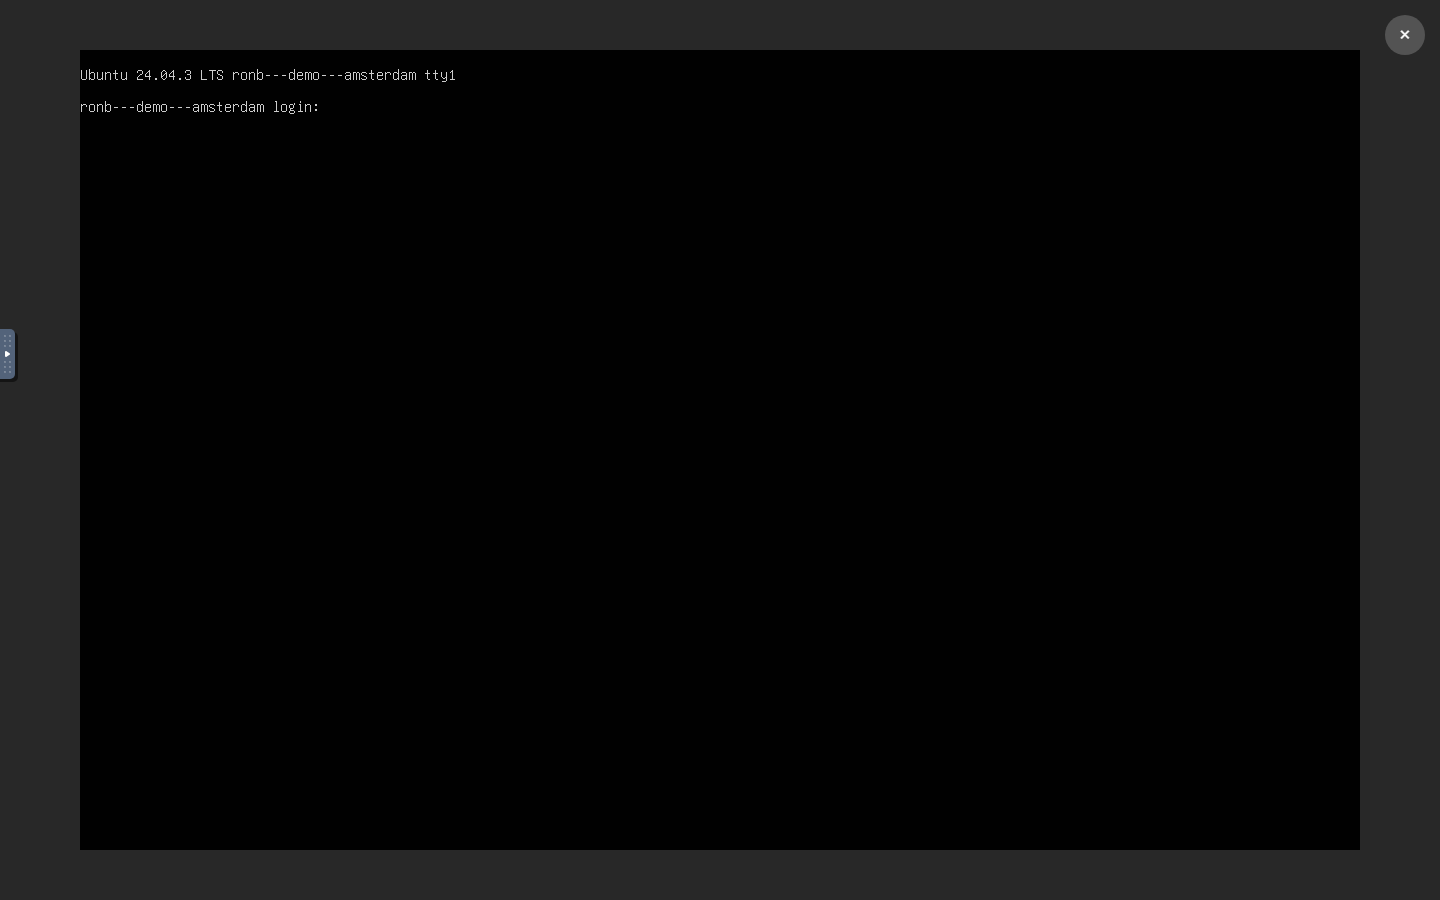
Action Bar
A narrow action bar runs down the far left side of the console window with quick controls for the VM you're connected to. Hover over any button to see what it does.
- Power — start or stop the VM. The icon reflects the current state: click it to power off a running VM, or to power on a stopped one. Powering off asks you to confirm first.
- Reset — power-cycle the VM. This is a hard reboot, available only while the VM is running, and asks you to confirm.
- Rescue — enter or exit Rescue Mode to boot the VM from a rescue ISO when it won't start normally.
After you trigger an action, its button is briefly disabled until the VM finishes changing state. A notification confirms when the VM has started, stopped, or completed the action.
Control Panel
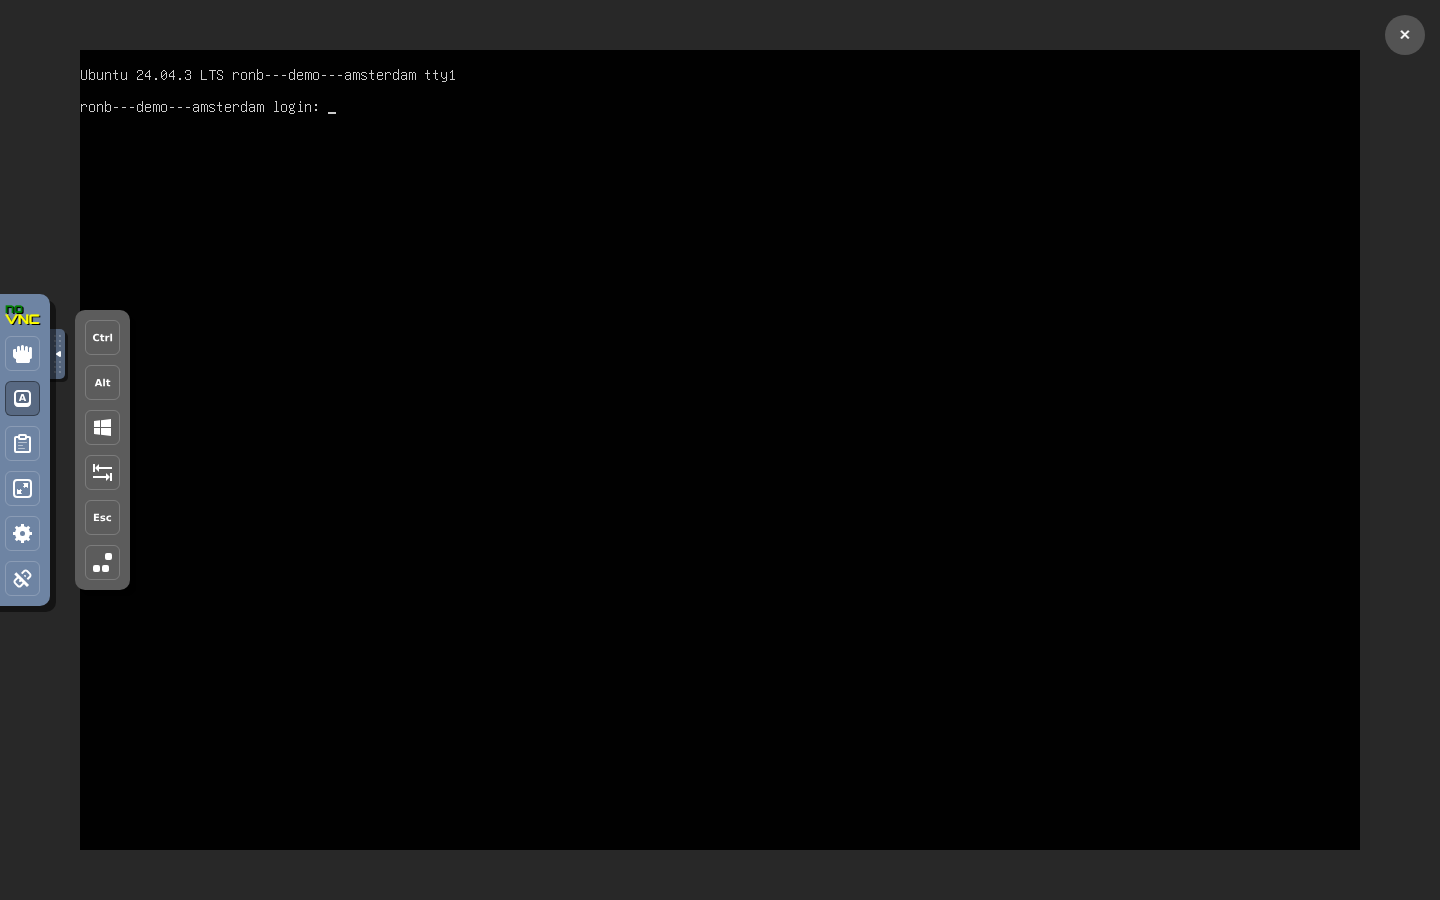
A collapsible control panel is available inside the console view itself — separate from the action bar. Click the arrow tab to expand it. The panel provides tools that are difficult or impossible to send through a normal browser session:
- Extra Keys — toggle modifier keys (Ctrl, Alt, Super/Win) so they are held while you press the next key. Use this to send combinations like Ctrl+Alt+Del, Win+R, or Alt+Tab that your browser would normally intercept.
- Clipboard — paste text from your local clipboard directly into the VM. Type or paste into the clipboard field, then click Send to deliver the text to the console. Clipboard paste is available in most locations, though availability may vary by data center.
- Fullscreen — expand the console to fill your entire screen for easier interaction.
- Settings — adjust display scaling and other console preferences.
- Disconnect — close the console session.
The console works even when the VM has no network connectivity. Use it to diagnose networking issues, fix firewall rules, or recover from misconfigured SSH.
Limitations
- Clipboard paste — not available in all data centers. If paste is unavailable in your location, Paster++ is a recommended alternative — it types content directly into the keyboard buffer and works reliably with browser-based consoles regardless of data center support.
- GPU virtual machines — console access is not available for GPU VMs. To connect to a GPU instance, use SSH.
- SSH key deployments — if your VM was deployed using SSH key authentication, no password is set for your user by default. The console login prompt requires a password, so you'll need to connect via SSH first and set a password for your user (e.g.,
sudo passwd ubuntu) before you can log in through the console.
Next Steps
- Manage VMs — start, stop, upgrade, and delete
- Rescue Mode — recover a VM that won't boot
- Network Interfaces — troubleshoot network configuration
.png)