Manage Resource Groups
Resource groups are how you organize users and the resources they can access — VMs, storage volumes, networks, and more. This page covers how to create resource groups and manage who belongs to them.
Prerequisites
- The Tenant Administrator or Tenant Power User role
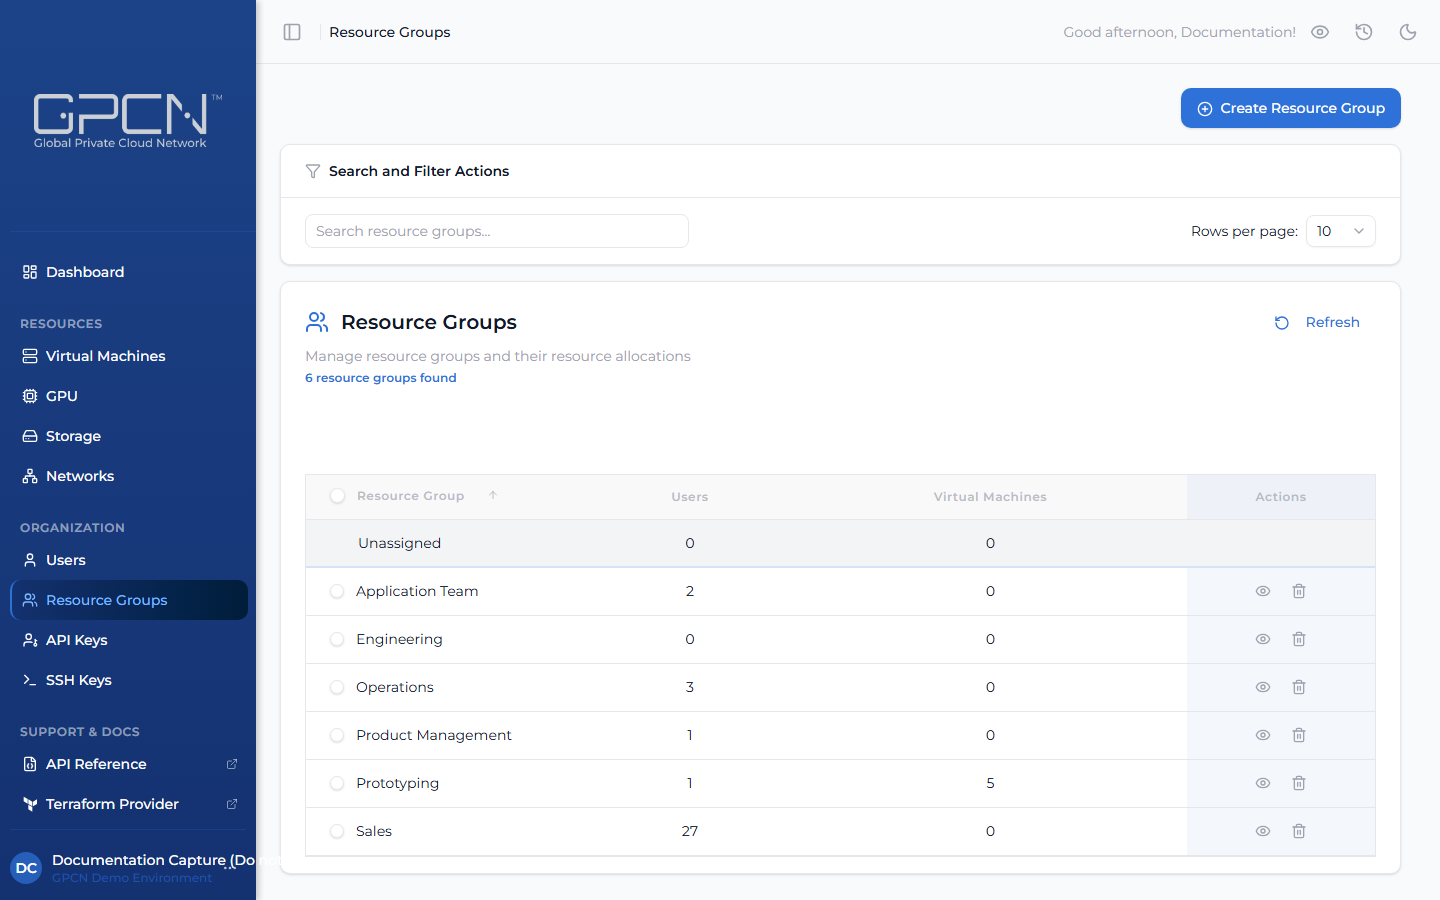
Create a Resource Group
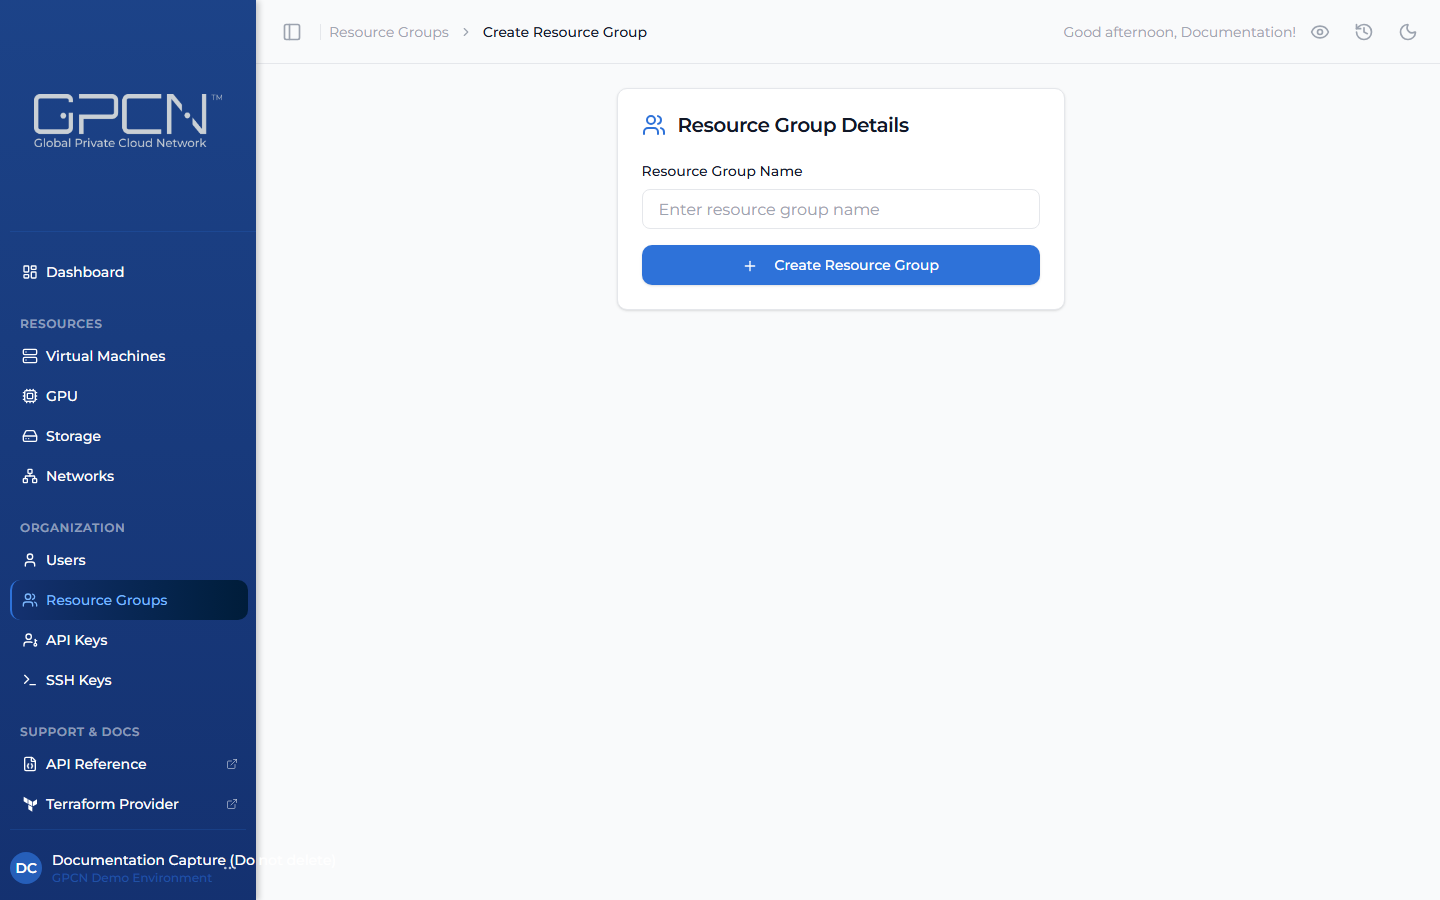
- Navigate to Resource Groups in the sidebar and click Create Resource Group.
- Enter a name for the resource group.
- Click Create.
Add Members to a Resource Group
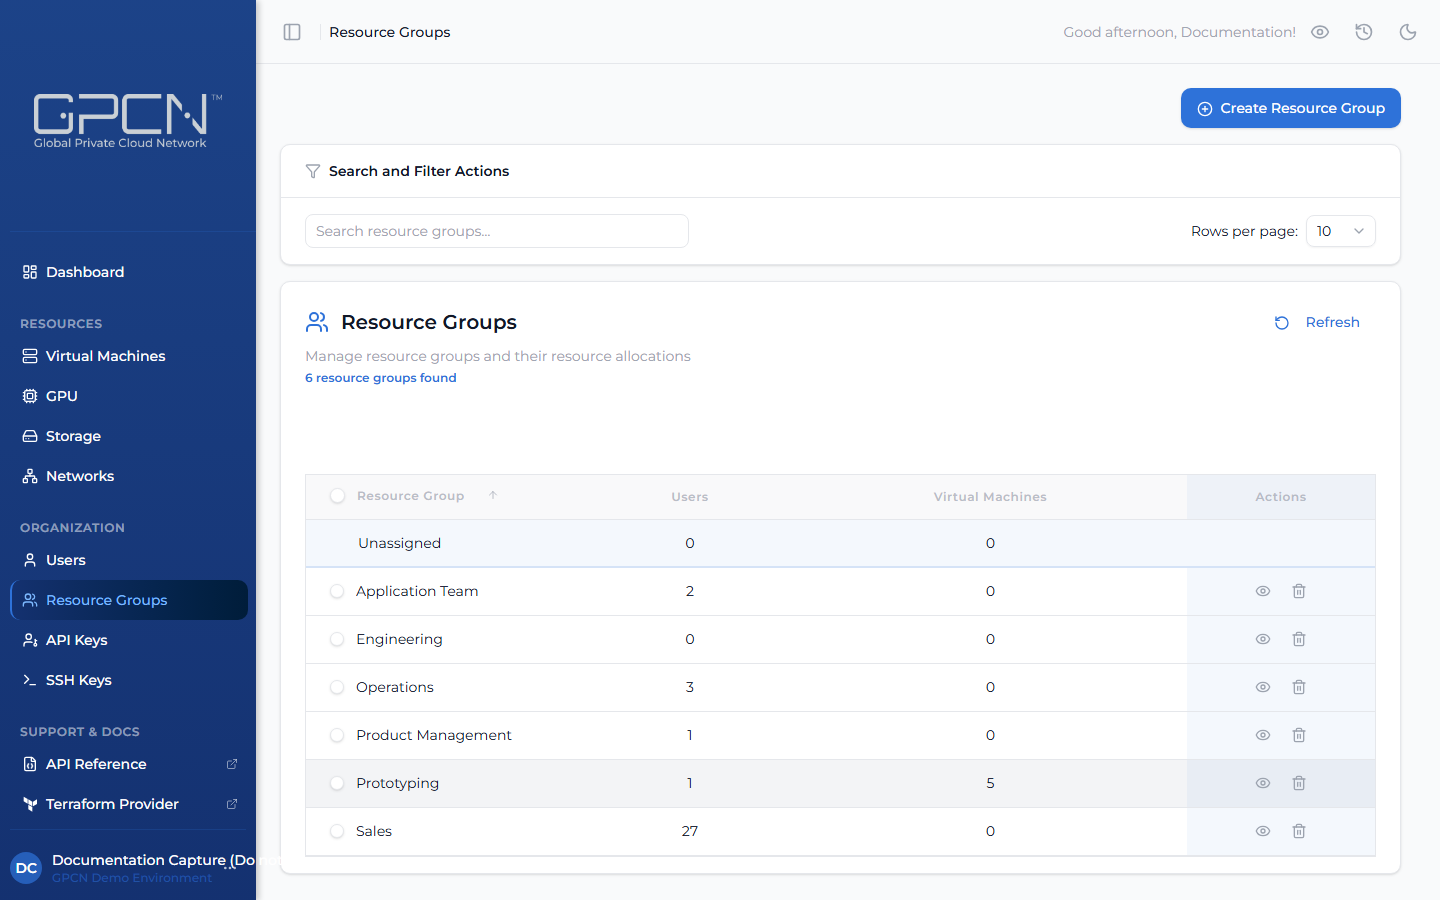
- Open the resource group's detail page by clicking its name in the list.
- Click Edit Resource Group.
- On the Build Resource Group step, click the + icon next to any user in the available users list to add them.
- Continue through the wizard and save your changes.
Users you add will have access to the resources assigned to this group, based on their role.
Remove a Member
- Open the resource group's detail page by clicking its name in the list.
- Click Edit Resource Group.
- On the Build Resource Group step, click the − icon next to the member you want to remove.
- Continue through the wizard and save your changes.
Removing a user from a resource group revokes their access to that group's resources. Their account and role assignments remain unchanged.
Edit a Resource Group
To rename a resource group, open its detail page, update the name field, and click Save.
Delete a Resource Group
To delete a resource group, click the delete icon (trash) on its row in the Resource Groups list and confirm. You can also select multiple groups and delete them in bulk using the action bar.
Deleting a resource group removes the group from the portal. Members and resource assignments are not automatically reassigned — if users or resources need to be moved to another group, do that before deleting.
Next Steps
- Manage Users — invite and manage users
- Roles & Permissions — control what users can do
- Resource Group API Reference → — manage resource groups programmatically
.png)